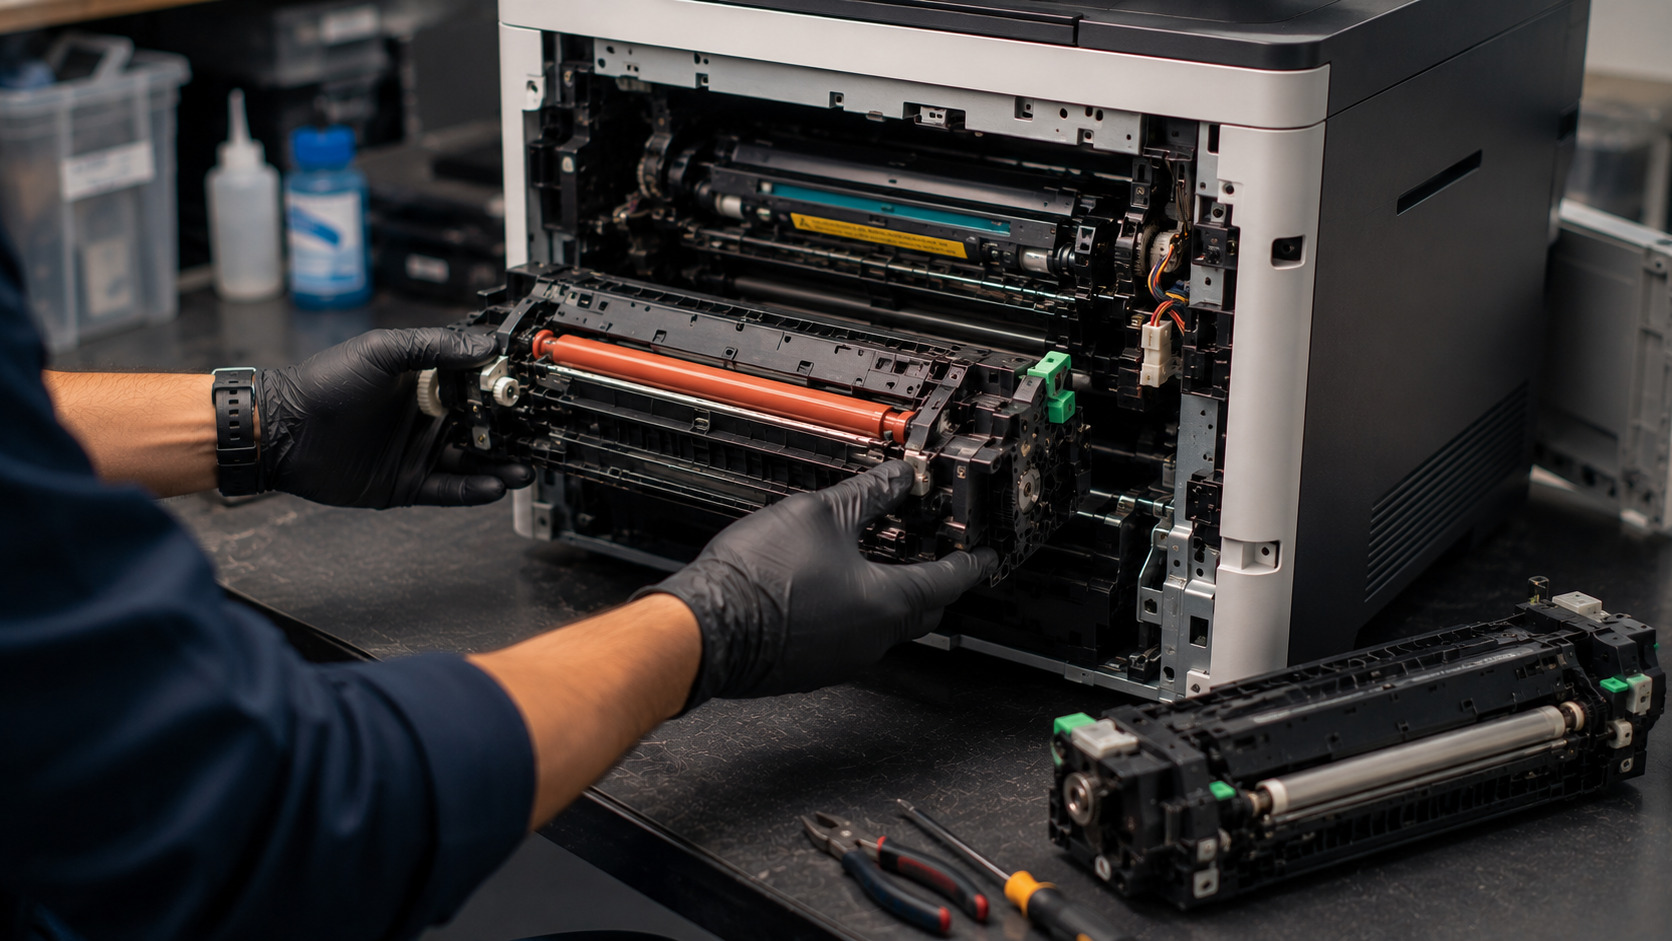
The fuser unit is one of the most important components inside a laser printer. Its job is to apply heat and pressure to permanently bond toner to the paper. Over time, the fuser can wear out, causing print quality issues, paper jams, wrinkles, smudges, or recurring error messages. Fortunately, many laser printers are designed so that the fuser can be replaced without specialized tools. Understanding the symptoms of a failing fuser and following proper replacement procedures can help restore print quality and extend the life of your printer.
What problem is the customer facing?
Users may experience:
- Toner rubbing off printed pages
- Frequent paper jams near the paper exit
- Wrinkled or creased documents
- Smudged prints
- Repeating marks on pages
- Fuser error messages
- Poor print quality despite replacing toner
- Printer overheating warnings
These symptoms often indicate that the fuser assembly has reached the end of its service life.
Why Does It Happen?
1. Normal Wear and Tear
Fuser rollers are exposed to constant heat and pressure during printing.
2. High Print Volume
Heavy printer usage accelerates fuser degradation.
3. Damaged Fuser Film
The fuser sleeve or film may tear, wrinkle, or wear out.
4. Worn Pressure Roller
A damaged pressure roller can affect toner bonding.
5. Heat Damage
Long-term exposure to high temperatures causes component deterioration.
6. Paper Dust and Debris
Contamination inside the fuser can affect print quality and paper movement.
How can customers identify the issue?
Common warning signs include:
- Toner smearing after printing
- Pages emerging wrinkled
- Repetitive marks at fixed intervals
- Frequent exit-area paper jams
- Printer displaying fuser-related errors
- Uneven toner adhesion
- Burnt or overheated smell
Visual Signs
- Damaged fuser film
- Worn pressure roller
- Toner buildup inside the fuser
- Visible scratches on rollers
- Discoloration from excessive heat
Possible solutions.
Step 1: Power Off the Printer
Turn off the printer and disconnect the power cable.
Step 2: Allow the Fuser to Cool
Fuser units operate at very high temperatures. Allow sufficient cooling time before handling.
Step 3: Access the Rear Cover
Most laser printers provide rear access to the fuser assembly.
Step 4: Remove Retaining Clips or Screws
Many printers use simple retaining mechanisms that can be removed with basic tools.
Step 5: Disconnect Fuser Connectors
Carefully disconnect any power and sensor cables attached to the fuser.
Step 6: Remove the Old Fuser
Slide the fuser assembly out according to the manufacturer's instructions.
Step 7: Install the New Fuser
Insert the replacement unit securely and reconnect all cables.
Step 8: Reassemble the Printer
Reinstall covers and retaining hardware.
Step 9: Reset Maintenance Counter (If Required)
Some printers require a fuser-life reset after replacement.
Step 10: Perform Test Prints
Verify print quality and proper paper feeding.
Common Mistakes to Avoid
Touching Hot Components
Fusers can remain hot long after the printer is powered off.
Using the Wrong Fuser Model
Always verify printer compatibility.
Damaging Connectors
Avoid pulling cables aggressively during removal.
Skipping Maintenance Resets
Some printers continue showing errors until counters are reset.
Ignoring Other Worn Components
Feed rollers and transfer rollers may also need inspection.
Why Choose Guru Computer Solution?
1.Certified Technicians
Experienced in laser printer maintenance and component replacement.
2.Genuine Parts
Quality replacement fusers and printer components.
3.Fast Turnaround
Quick diagnostics and repair services to reduce downtime.
4.Warranty Support
Repairs backed by service warranty for added peace of mind.
5.Affordable Pricing
Cost-effective printer maintenance and repair solutions.
Conclusion
The fuser unit plays a critical role in print quality by permanently bonding toner to paper. When the fuser begins to wear out, symptoms such as toner smearing, recurring paper jams, wrinkled pages, and print defects can quickly affect productivity. Replacing a worn fuser at the right time can restore print quality, improve reliability, and prevent further damage to the printer.
If your laser printer is experiencing fuser-related issues, Guru Computer Solution can provide professional diagnostics, fuser replacement, printer maintenance, and repair services to keep your printer operating efficiently and producing high-quality prints.