A failed BIOS update can turn a perfectly working motherboard into a system that won't boot at all. Fortunately, many modern motherboards include a feature called BIOS Flashback, which allows users to restore or update the BIOS even when the CPU, RAM, or display isn't functioning. This recovery method can often bring a seemingly "bricked" motherboard back to life without requiring specialized repair equipment. Understanding how BIOS Flashback works and following the correct procedure can save time, money, and unnecessary motherboard replacements.
What Problem Is the Customer Facing?
A motherboard may become unbootable after:
- Failed BIOS update
- Power loss during BIOS flashing
- Corrupted BIOS firmware
- Incorrect BIOS version installation
- Interrupted firmware upgrade
- BIOS configuration corruption
Common symptoms include:
- No display output
- System powers on but does not POST
- Debug LEDs stuck on CPU or BIOS indicators
- Fans spin but system never boots
- Continuous restart loops
- Black screen after BIOS update
What Is BIOS Flashback?
BIOS Flashback is a motherboard recovery feature that allows BIOS firmware to be updated directly from a USB drive without requiring:
- CPU installation
- RAM installation
- Graphics card installation
- Operating system access
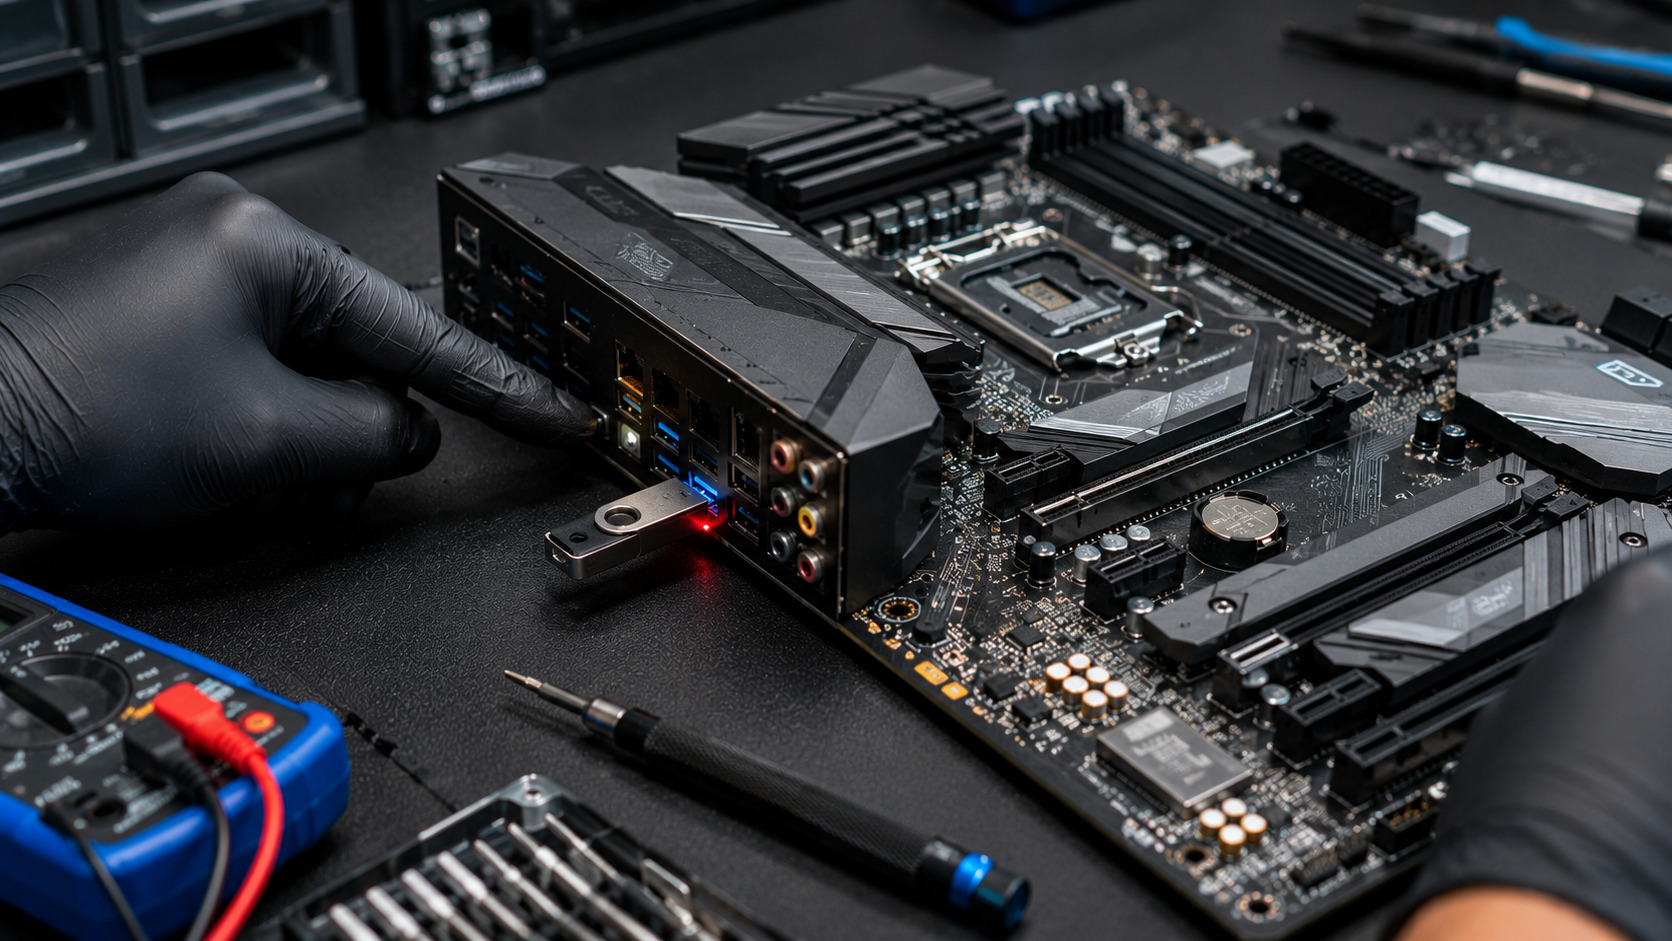
The motherboard uses a dedicated USB port and Flashback button to load firmware directly into the BIOS chip.
Why Does BIOS Corruption Happen?
1. Power Interruption
Loss of power during a BIOS update can leave firmware incomplete.
2. Wrong BIOS File
Installing firmware intended for a different motherboard model.
3. Failed Update Process
Software crashes or system instability during flashing.
4. Corrupted Download
Damaged BIOS files may cause incomplete programming.
5. Hardware Instability
Faulty memory or power issues during updates.
How Can Customers Identify the Issue?
Common warning signs include:
- Black screen immediately after BIOS update
- No motherboard splash screen
- No keyboard response
- Debug LEDs remaining lit
- Continuous boot loops
- No POST beeps
- Flashing BIOS warning indicators
Step-by-Step BIOS Flashback Recovery
Step 1: Verify Motherboard Supports BIOS Flashback
Check the motherboard manual for:
- BIOS Flashback feature
- Dedicated Flashback USB port
- Flashback button location
Not all motherboards support this recovery method.
Step 2: Download the Correct BIOS
Visit the motherboard manufacturer's official website and download:
- Exact motherboard model BIOS
- Latest stable version (or recommended recovery version)
Step 3: Prepare a USB Drive
Use:
- Small-capacity USB drive if possible
- FAT32 formatting
- Empty drive with no unnecessary files
Step 4: Rename the BIOS File
Many manufacturers require a specific filename.
Examples include:
- MSI.ROM
- GIGABYTE.BIN
- ASUS.CAP
Always follow the motherboard manual.
Step 5: Copy BIOS File to USB
Place the renamed BIOS file in the root directory of the USB drive.
Step 6: Connect Power Supply
The motherboard should receive standby power.
Typically:
- 24-pin ATX connected
- CPU power connector connected
CPU and RAM are usually not required.
Step 7: Insert USB Drive
Insert it into the dedicated BIOS Flashback USB port.
Step 8: Press BIOS Flashback Button
Hold the button for several seconds.
A flashing LED usually indicates the update has started.
Step 9: Wait Patiently
The process may take several minutes.
Do not:
- Remove power
- Remove USB drive
- Press reset buttons
Step 10: Verify Completion
When the Flashback LED stops blinking, the process is typically complete.
Reinstall components and attempt a normal boot.
Common Mistakes to Avoid
Using the Wrong BIOS File
Always verify the exact motherboard revision and model.
Incorrect USB Formatting
Many motherboards require FAT32.
Using the Wrong USB Port
Only the dedicated Flashback port will work.
Interrupting the Process
Removing power can permanently corrupt firmware.
Ignoring Manufacturer Instructions
Each brand has slightly different requirements.
Visual Signs During Inspection
Flashback LED Activity
Blinking LEDs usually indicate firmware writing.
No LED Activity
May indicate:
- Incorrect file name
- Wrong USB port
- Unsupported USB drive
Continuous LED Errors
Can indicate corrupted firmware files.
Diagnostic Process Used by Technicians
A professional diagnosis typically includes:
- BIOS corruption verification
- Motherboard power testing
- Flashback functionality testing
- Firmware integrity checks
- USB compatibility testing
- CMOS reset procedures
- Post-recovery validation
Possible Solutions
BIOS Flashback Recovery
Restore corrupted firmware safely.
CMOS Reset
Clear invalid BIOS settings after recovery.
BIOS Chip Reprogramming
For boards that cannot recover using Flashback.
BIOS Chip Replacement
In severe firmware corruption cases.
Power Stability Testing
Prevent future update failures.
Why Choose Guru Computer Solution?
1.Certified Technicians
Experienced in motherboard firmware recovery and BIOS repair.
2.Advanced Diagnostic Equipment
Professional tools for BIOS recovery and motherboard analysis.
3.Component-Level Repair Expertise
Support for severe motherboard failures.
4.Fast Turnaround
Efficient diagnosis and recovery services.
5.Affordable Pricing
Cost-effective alternatives to motherboard replacement.
Conclusion
A failed BIOS update doesn't always mean a motherboard is permanently damaged. BIOS Flashback provides a powerful recovery feature that can restore corrupted firmware even when the system won't boot. By following the correct procedure and using the proper BIOS file, many seemingly bricked motherboards can be recovered without replacing hardware.
If your motherboard no longer boots after a BIOS update, Guru Computer Solution can perform professional BIOS recovery, firmware repair, motherboard diagnostics, and advanced troubleshooting to help bring your system back to life.