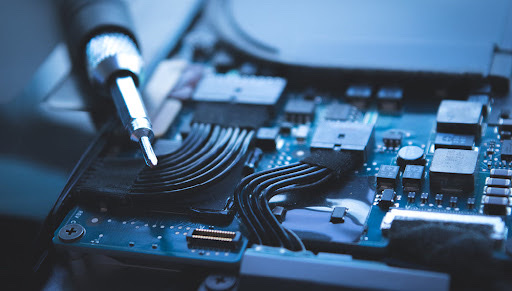
A stripped or stuck screw on a laptop's bottom cover can turn a simple repair into a frustrating job. Using the wrong screwdriver, applying too much force, or drilling too aggressively can damage the screw, laptop casing, motherboard, or nearby components.
Fortunately, many stripped laptop screws can be removed safely with the right technique. In this guide, we'll cover the common causes of stuck screws, how to identify the problem, safe removal methods, and when professional laptop repair is the better option.
Problem
A laptop base screw may become stuck, stripped, or impossible to remove with a normal screwdriver. This can prevent access to important components such as the battery, SSD, RAM, cooling fan, or motherboard.
A damaged screw head can become worse if the wrong screwdriver size is used or if excessive downward force is applied.
What Problem Is the Customer Facing?
Customers may find that one or more screws on the laptop's bottom cover will not turn. The screwdriver may spin inside the screw head without gripping it, or the screw may rotate but fail to come out.
This often happens during laptop upgrades, battery replacement, cleaning, SSD installation, or previous repairs. If the screw is forced further, the head can become completely unusable, making removal much more difficult.
Root Causes of the Problem
A laptop screw can become stuck or stripped because of:
- Incorrect screwdriver size
- Using the wrong screwdriver type
- Excessive tightening during previous repair
- Applying too much force at an angle
- Worn or low-quality screwdriver
- Damaged screw head
- Rust or corrosion
- Dirt inside the screw head
- Cross-threading
- Screw installed incorrectly
- Plastic casing putting pressure on the screw
- Previous repair damage
How Can Customers Identify the Issue?
Common signs include:
- Screwdriver keeps slipping
- Screw head looks rounded or damaged
- Screw won't rotate
- Screw rotates but doesn't come out
- Screw feels unusually tight
- Bottom cover cannot be opened
- Screw head becomes damaged after repeated attempts
- Screwdriver cannot grip the screw properly
- Visible corrosion around the screw
Possible Solutions
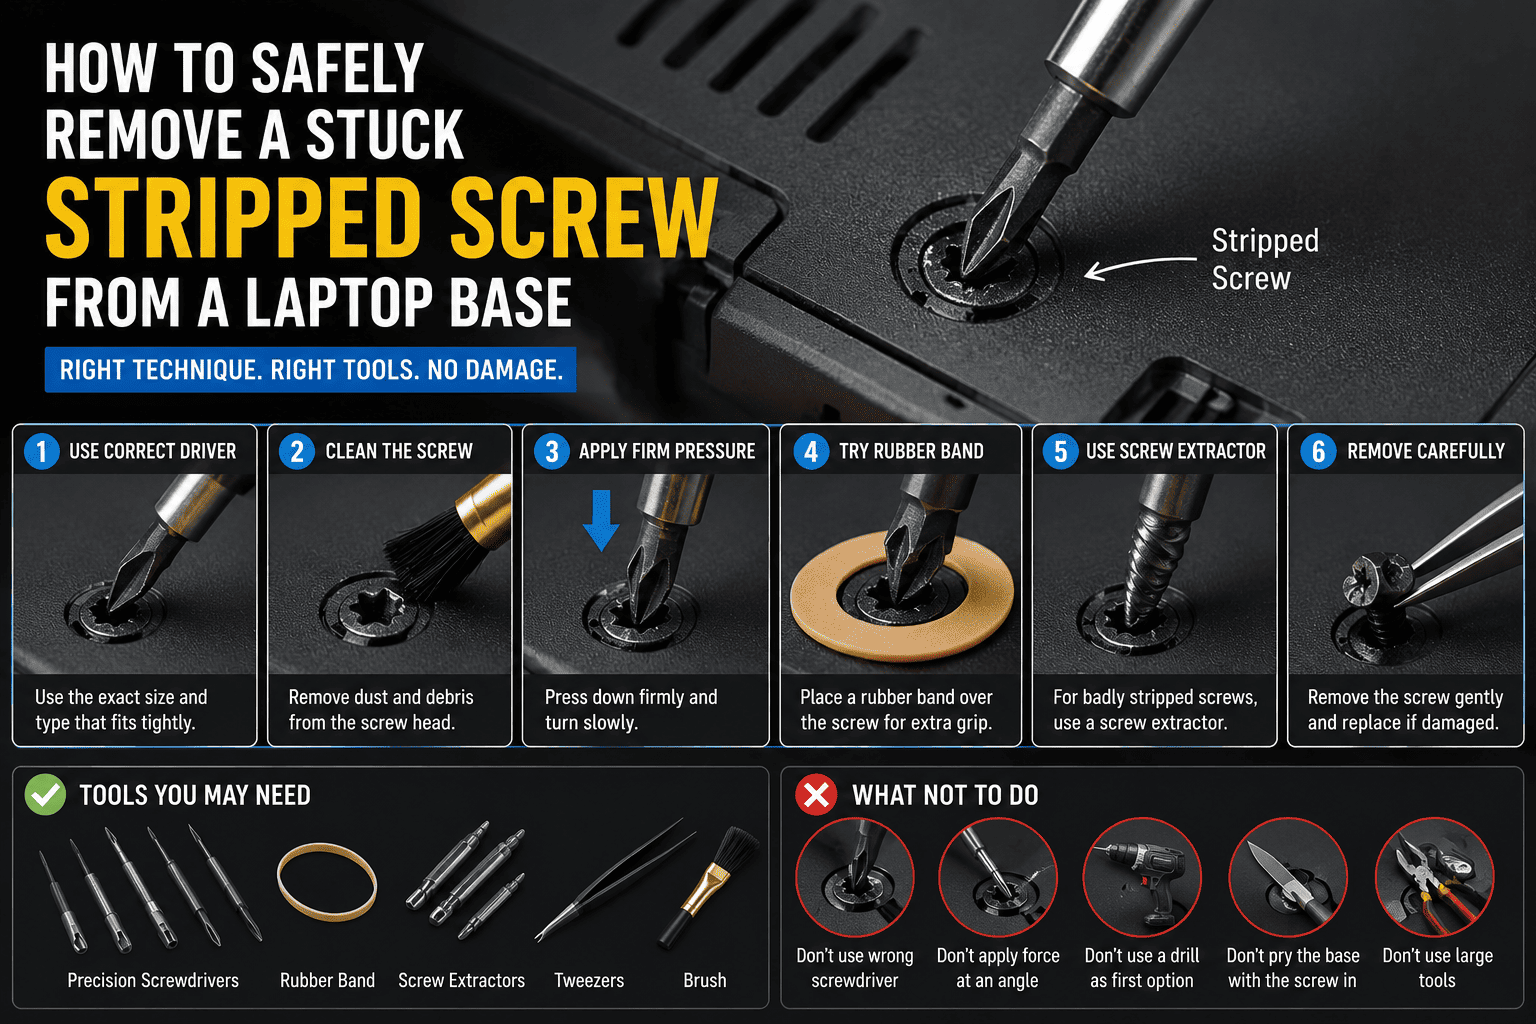
1. Use the Correct Screwdriver
Start with the correct screwdriver size and type. Many laptops use small Phillips-head screws, while some models use Torx or other screw types.
The screwdriver should fit firmly into the screw head without excessive movement.
2. Clean the Screw Head
Dust or debris can prevent the screwdriver from seating correctly. Carefully clean the screw head before trying again.
3. Apply Firm, Straight Pressure
Keep the screwdriver perpendicular to the screw and apply controlled downward pressure while turning slowly.
Avoid forcing the screwdriver at an angle because this can strip the screw further.
4. Try a Different Screwdriver
If the current screwdriver doesn't grip properly, a slightly different precision screwdriver size may provide better contact.
Using a high-quality precision screwdriver can make a significant difference with small laptop screws.
5. Use a Rubber Band for Minor Stripping
For a slightly damaged screw, placing a thin rubber band between the screwdriver and screw head can sometimes improve grip.
This technique works best when the screw head is only mildly stripped.
6. Use a Precision Screw Extractor
If the screw head is badly damaged, a suitable precision screw extractor may be required.
The technician carefully creates enough grip to turn the damaged screw without putting excessive pressure on the laptop chassis.
7. Use Controlled Pliers When Accessible
If part of the screw head is exposed and accessible, precision pliers may sometimes be used to turn it.
Care must be taken to avoid scratching or cracking the laptop's plastic or metal chassis.
8. Drill as a Last Resort
For severely damaged screws, controlled drilling may be necessary to remove the screw head.
This should be performed by an experienced technician.
Laptop motherboards, batteries, cables, and other sensitive components are often located immediately beneath the bottom cover. A drill slipping into the laptop can cause expensive damage.
9. Replace the Damaged Screw
After removing the stuck screw, replace it with a correctly sized compatible screw rather than reusing a severely damaged one.
What NOT to Do
Avoid these common mistakes:
- Don't use excessive force.
- Don't use a screwdriver that doesn't fit.
- Don't repeatedly spin a slipping screwdriver.
- Don't use large household tools on tiny laptop screws.
- Don't drill directly above the motherboard or battery.
- Don't use excessive heat near the battery.
- Don't pry the laptop cover aggressively while the screw is still secured.
- Don't continue if the screw head is becoming increasingly damaged.
Safe Removal Process
A professional technician generally follows this approach:
Inspect → Select correct tool → Clean screw → Apply controlled pressure → Attempt extraction → Escalate to extractor → Carefully remove damaged screw → Inspect casing → Replace screw
The goal is to remove the screw without damaging the laptop chassis or internal components.
Why Choose Guru Computer Solution?
1. Certified Technicians
Our technicians use appropriate precision tools and controlled techniques for delicate laptop repairs.
2. Genuine Parts
Damaged screws and related components can be replaced with suitable, high-quality parts.
3. Fast Turnaround
Many stuck-screw removal jobs can be completed quickly, depending on the condition and location of the screw.
4. Warranty Support
Eligible repair services and replacement components come with warranty support.
5. Affordable Pricing
Professional screw removal can prevent unnecessary damage and expensive motherboard or casing repairs.